How to Download and Set Up Android Studio for Test Automation

The easiest way to get started with your android test automation setup is to download Android Studio. Through Android Studio, it will be easier for us to manage the SDKs, Android Virtual Devices and other android components necessary for android test automation.
NOTE: This is intended for Mac Users only. If you’re not a Mac user, you can still use this as reference but it will be better to look for a reference that exactly fits your need.
Download Android Studio
- Go to Android Studio download page.
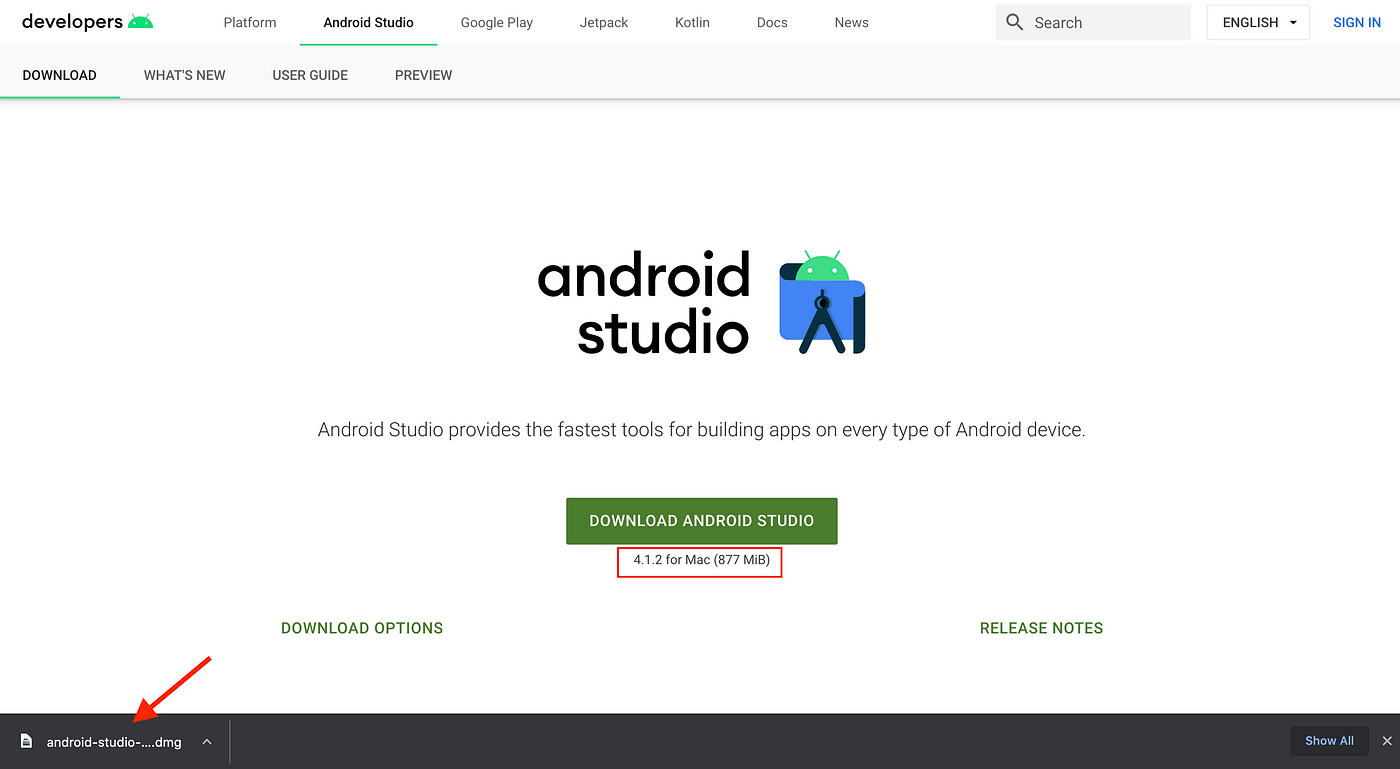
- Download android Studio for Mac.
3. Open the downloaded file then move Android Studio to your Applications folder.

4. Check Android Studio on your Applications folder.

Bravo!!! 👏 👏 👏 You just downloaded and installed Android Studio.
Now it’s time to setup our android studio according to our needs.
- Open Android Studio and Start a new Android Studio Project.

2. Choose project your want to create, since we are not interested on building an application just choose ‘Add No Activity’ then Next.
3. On Configure your project page. Just leave the default values then Finish.
4. Now let’ s download some SDKs. Open Android Studio Preferences.

5. On the Preferences, go to Android SDK section. In this section you’ll see the available SDK that are not yet installed, partially installed and those that has available updates. SDKs consume large storage space, so just download the latest SDK (e.g. API level 30). To download, tick the box corresponding your chosen SDK then hit Apply.

6. Once downloaded, let’s proceed on creating one Android Virtual Device or emulator. Close the preferences window then Open the AVD Manager.

This is the AVD Manager. This where you need to go when you need to create and open your emulator.

7. Create a Virtual Device.
7.1 Select the hardware specifications of your virtual device then Next.

7. 2 On the System Image page, chose the SDK you downloaded in the previous steps then Next.

7.3 Name your virtual device then Finish.

7.4 You should see your created virtual device on the Android Device Manager window. Under ‘Actions’ column, click the Play icon to open the virtual device.
7.5 This is how emulator look like.

That’s it, we’ve downloaded the SDK we need and created our emulator where we will be running our tests.
The last thing we need to do to complete our set up is to assign the Android SDK location to our ANDROID_HOME environment variable and to set some of our SDK components on our PATH variable.
SETTING YOUR ANDROID_HOME AND SDK COMPONENTS TO PATH
ASSUMPTION: You are using bash as your terminal shell. If you are using Z shell you can change it to bash. Check this How To Change Default Shell On Mac.
Setting up your ANDROID_HOME and SDK COMPONENTS TO PATH is simple, just export it on your .bash_profile.
STEP 1: Open Finder then go to your Home directory, then look for your .bash_profile

.bash_profile is a hidden file. So if you can’t find it, just run the commands below via Terminal.
To show hidden files on Mac
defaults write com.apple.Finder AppleShowAllFiles truekillall Finder
To hide files
defaults write com.apple.Finder AppleShowAllFiles falsekillall Finder
Step 2: Add the ANDROID_HOME on your .bash_profile. Your Android SDK location is displayed on the Android Studio Preferences.

Here is the sample on what you will add to your bash profile.
export ANDROID_HOME=<insert here your Android SDK location>Add the tools locations to your path. Just copy and paste the below statements on your .bash_profile
export PATH=${PATH}:Library/Android/sdk/platform-tools
export PATH=${PATH}:Library/Android/sdk/emulator
export PATH=${PATH}:Library/Android/sdk/tools
export PATH=${PATH}:Library/Android/sdk/tools/bin
export PATH=${PATH}:Library/Android/sdk/sources
You can also add the path for build-tools but the above components is enough.
This is a sample on how your .bash_profile should look like.
export JAVA_HOME=/Library/Java/JavaVirtualMachines/jdk-11.0.9.jdk/Contents/Homeexport ANDROID_HOME=/Users/rommelmalqued/Library/Android/sdk
export PATH=${PATH}:Library/Android/sdk/platform-tools
export PATH=${PATH}:Library/Android/sdk/emulator
export PATH=${PATH}:Library/Android/sdk/tools
export PATH=${PATH}:Library/Android/sdk/tools/bin
export PATH=${PATH}:Library/Android/sdk/sources
If you notice, I added JAVA_HOME in the .bash_profile. If you haven’t set up java yet, check my other article on How to Download JDK and export Java Home for Test Automation
To sum it up:
- Download Android Studio
- Download Android SDK
- Set up your Android virtual device
- Set up ANDROID_HOME
- Set up PATH for some android tools/components
That’s it, you deserve a beer 🍺 🍺
Want to complete your mobile test automation set up? Check this out on How To Set Up Appium For Test Automation.

